This article provides information about tag management feature and how users can create and manage tags in MooseDesk
What is ‘Tags’?
Tags are assigned to tickets and chat conversations to categorize them based on specific criteria. They can help you streamline ticket routing and assignment processes.
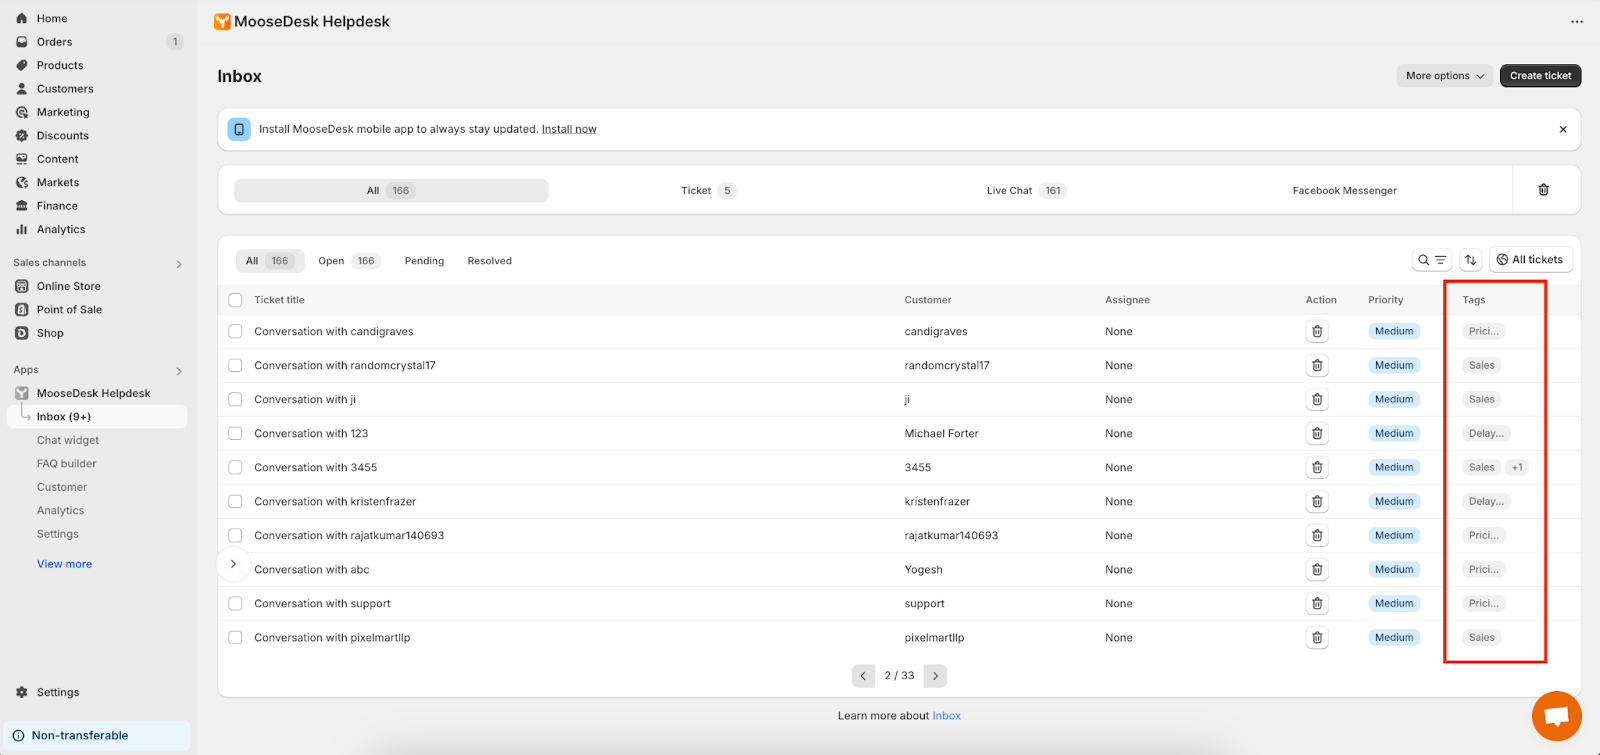
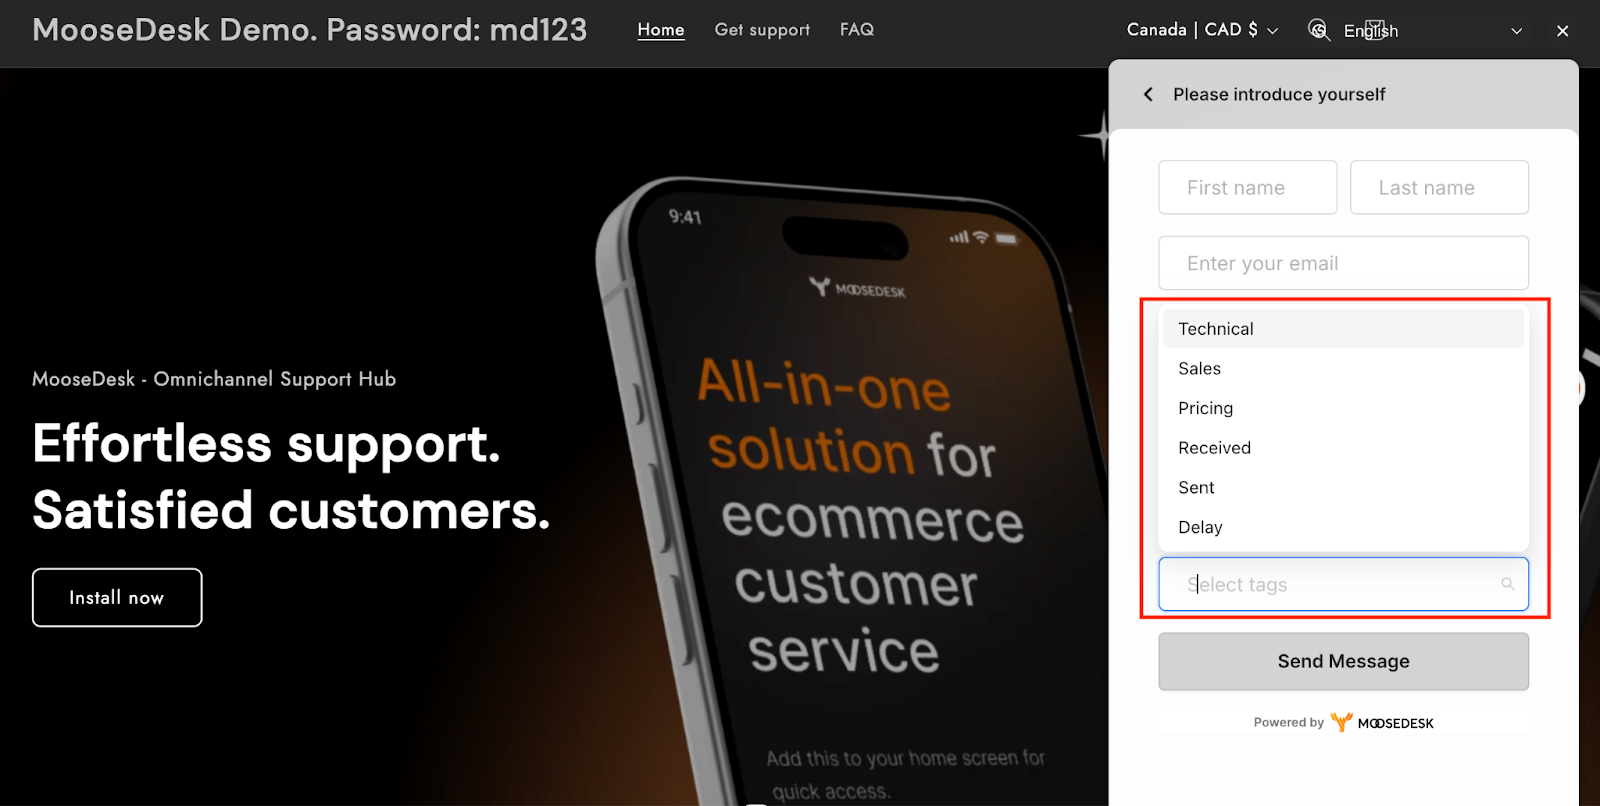
Besides, tags are available on your widget. When your customers submit a ticket or start a conversation, they can select the category that suits their inquiries from the tag dropdown.
How to create tags in MooseDesk
There are 2 ways to create tags in MooseDesk:
- Create tag in Inbox
- Create tag in Settings
Create tags in Inbox
Step 1: Go to Inbox > Click a ticket/conversation

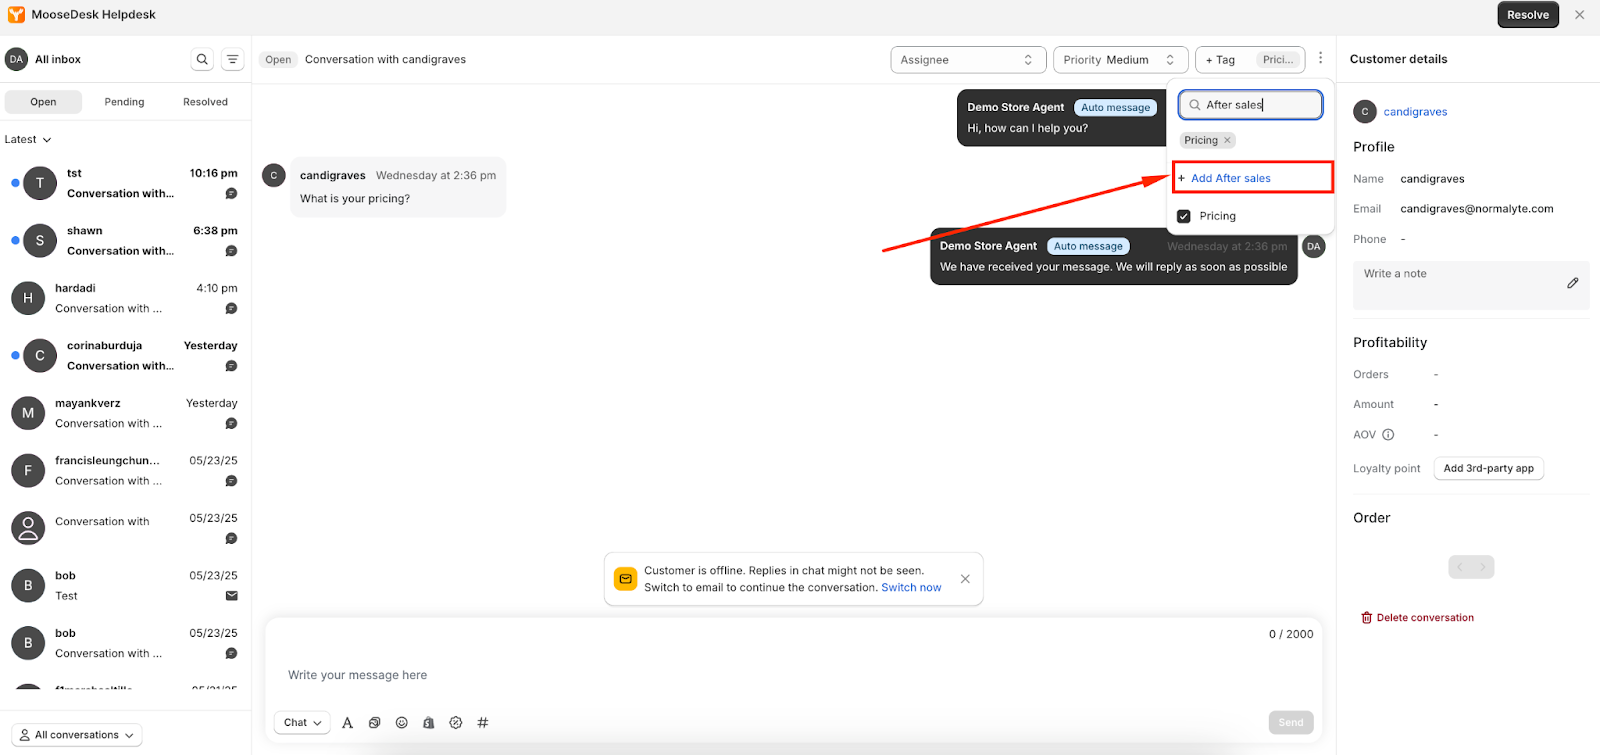
Step 2: Navigate to the Tag section > Enter the tag name
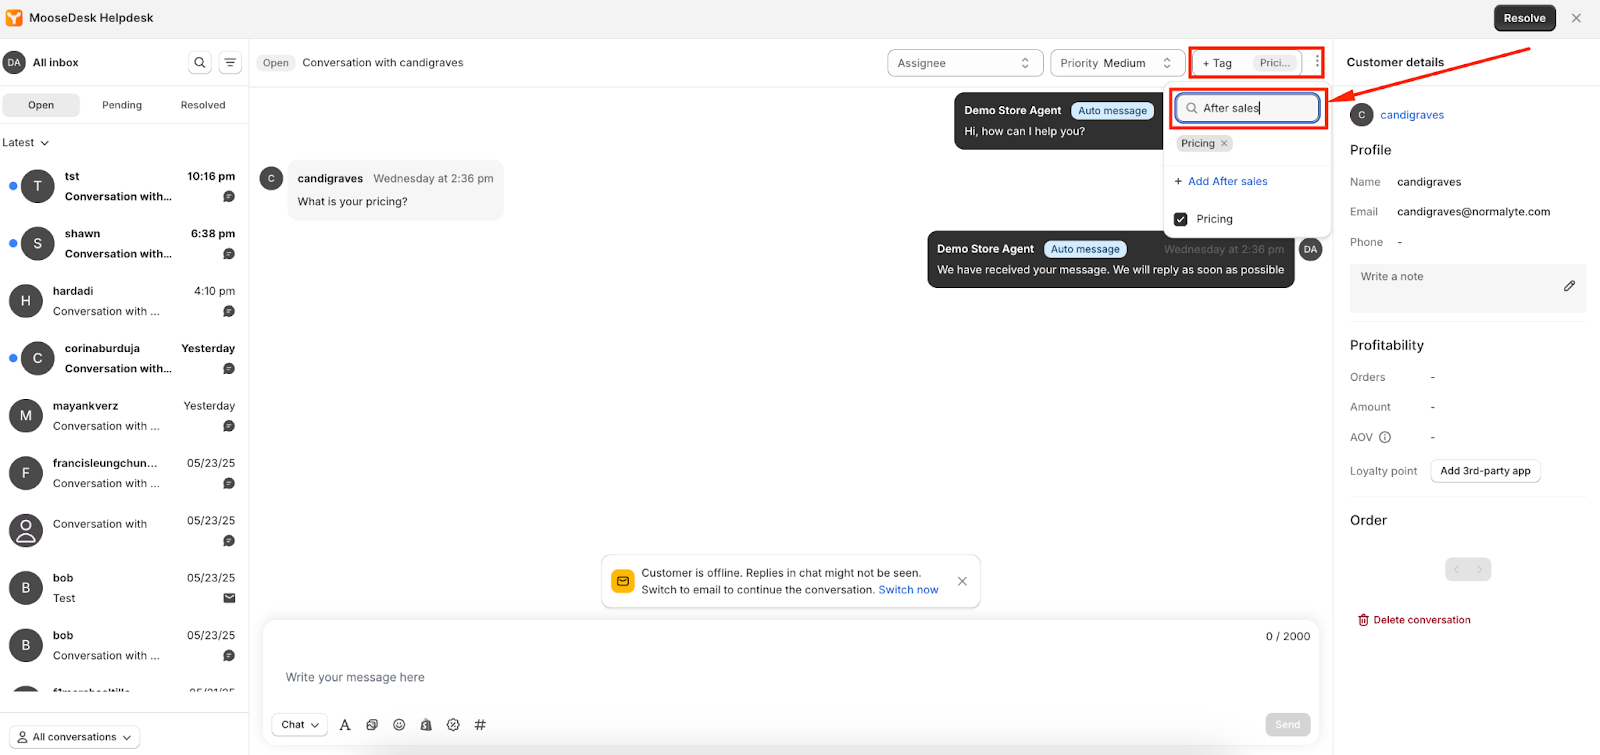
Step 3: Add the new tag name to the list
Create tags in Settings
Step 1: Go to Settings > Tags > Create tag
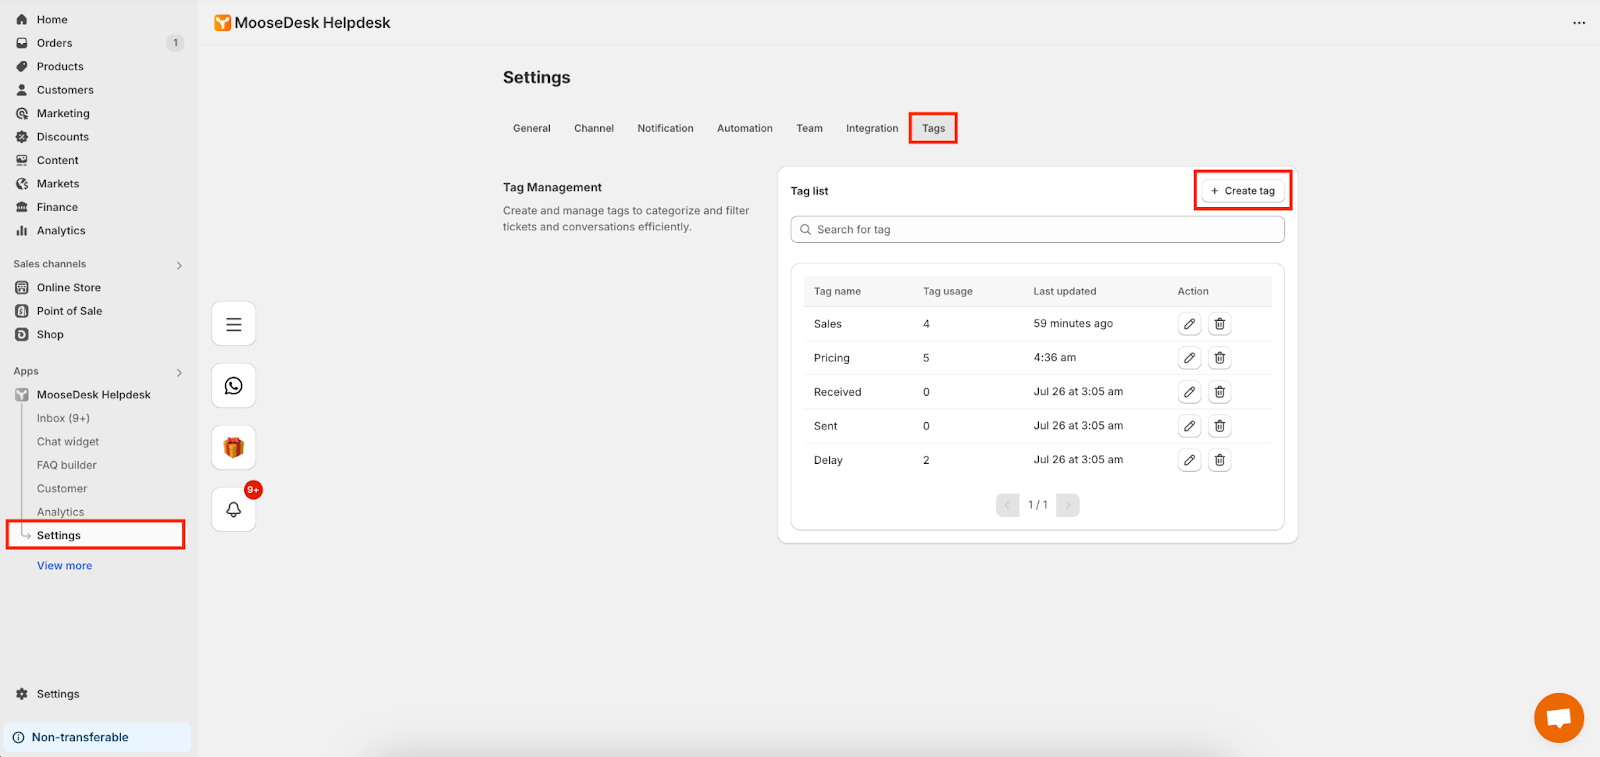
Step 2: Enter Tag name and description (optional)

Step 3: Click Save
How to manage tags in MooseDesk
Edit tag
Step 1: Click Edit icon
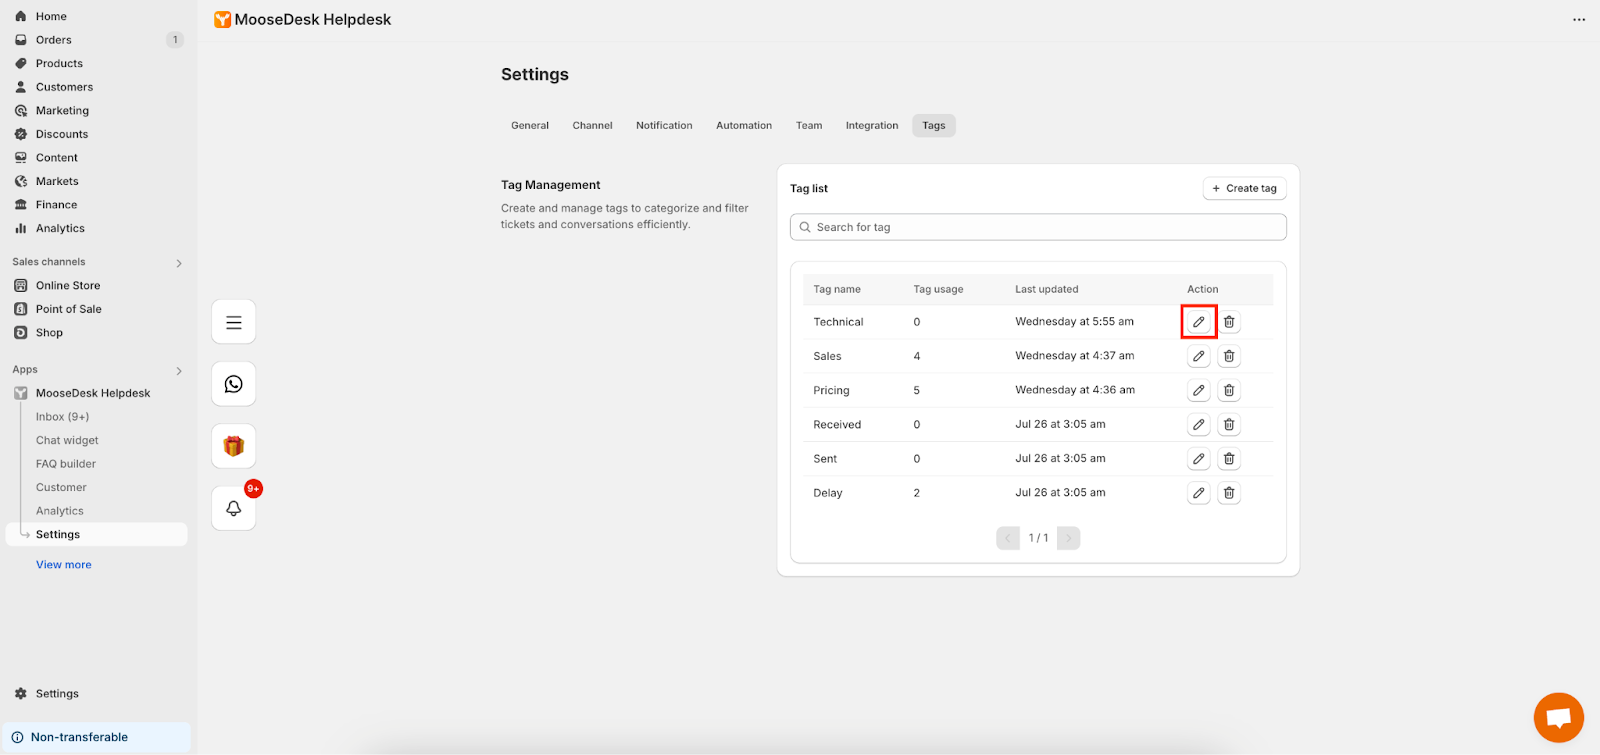
Step 2: Edit tag name or tag description
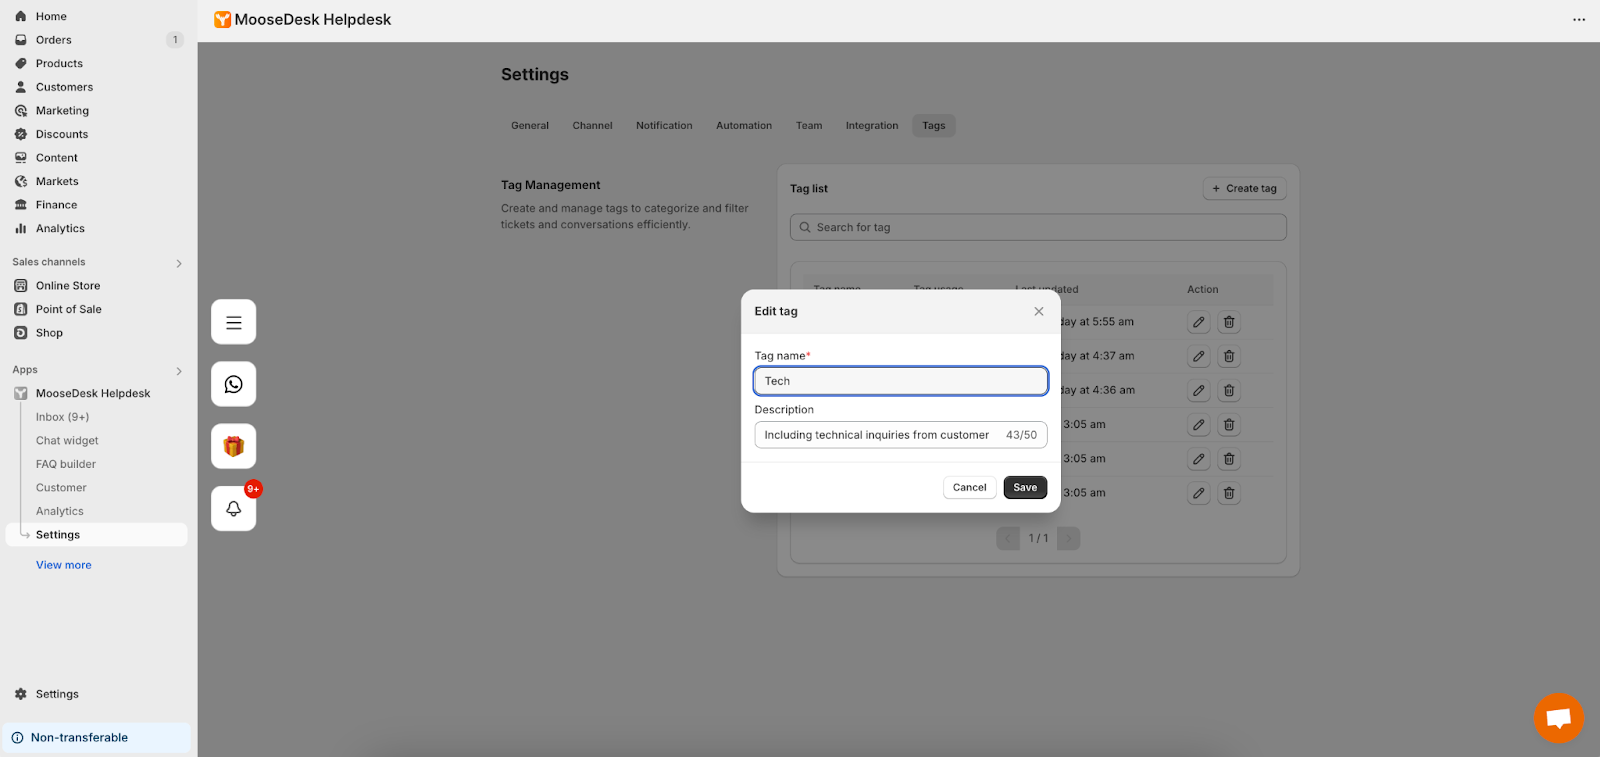
Step 3: Click Save
Set up tags on chat widget
Step 1: Go to Chat widget > General > Choose Live chat or Ticket
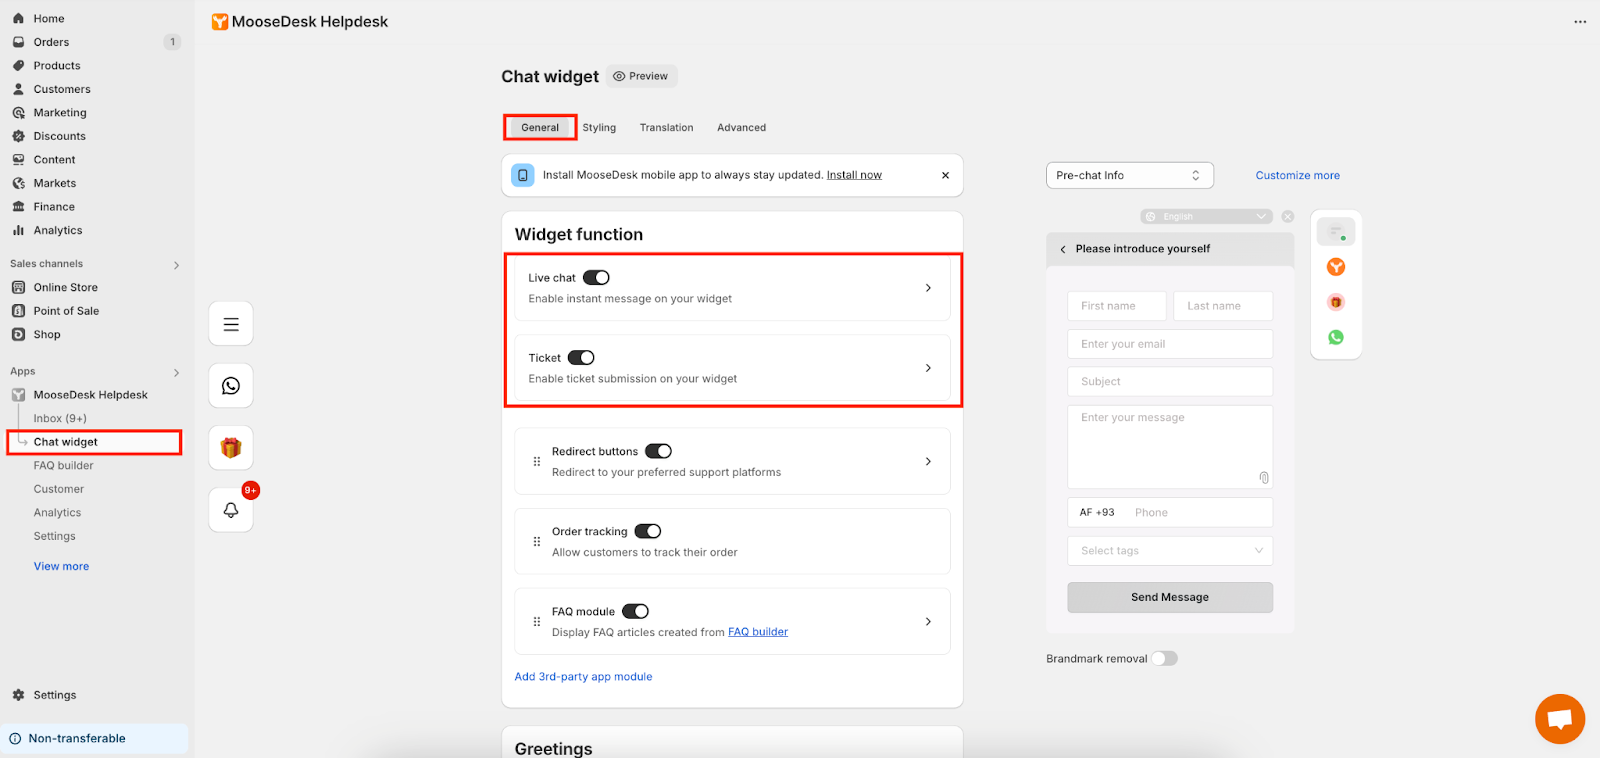
Step 2: Choose Tag from the dropdown list
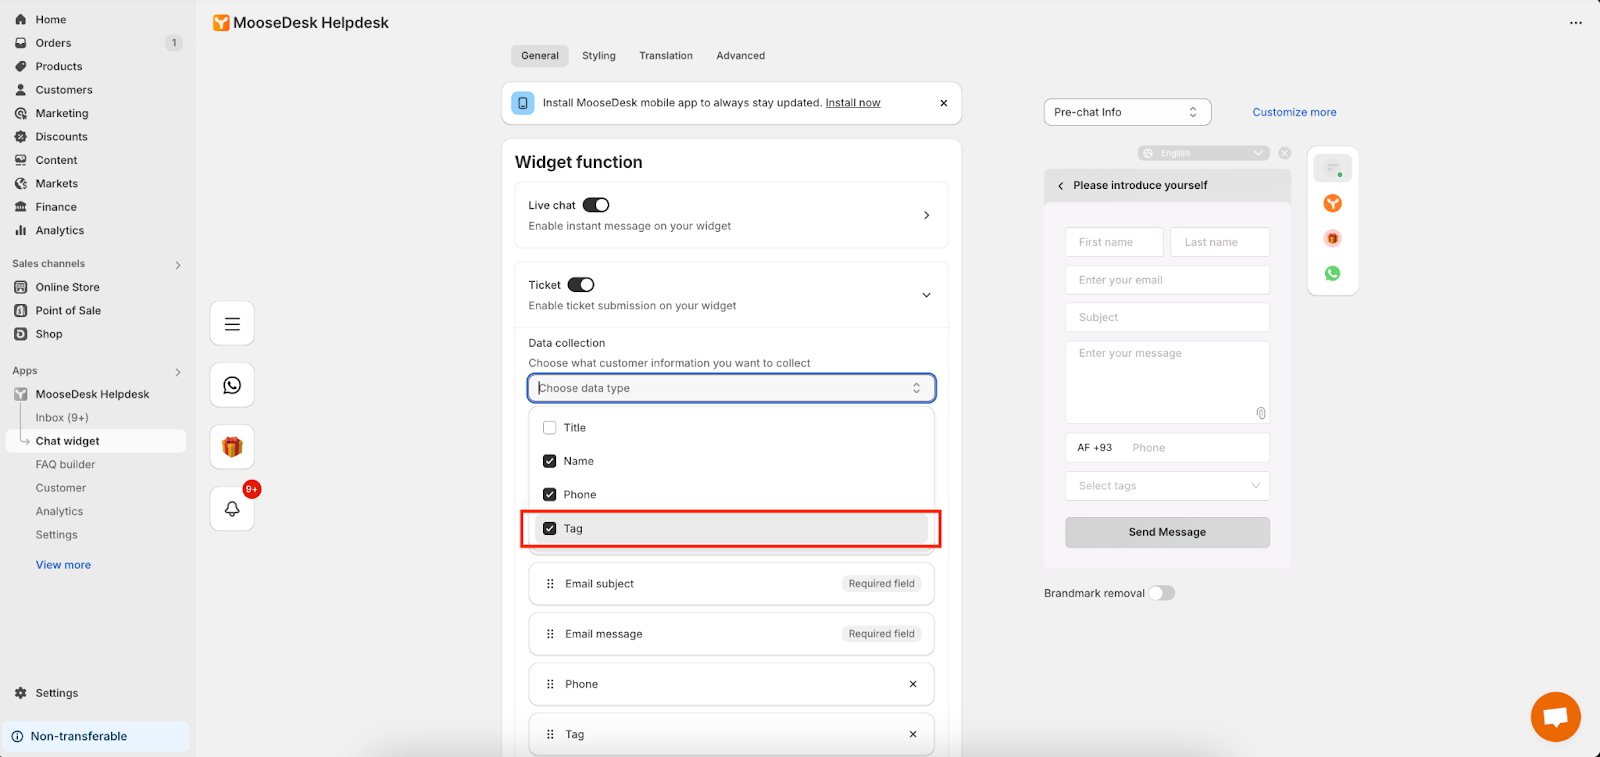
Note: If you choose live chat, please make sure to enable data collection first.
Step 3: Click Save
Support channels
If you ever need assistance, our Help Center is packed with comprehensive guides and tutorials.
At MooseDesk, we’re always here to help. Our dedicated email and live chat teams are available around the clock. Drop us an email at help@moosedesk.com, or click the Live Chat icon located at the bottom left corner of the MooseDesk app, our official website, and even within this Help Center.
Was this article helpful?
How can we help?
Name: *
Email: *
Message: *
How to set auto-assignment How to set business hour in MooseDesk
Powered by BetterDocs
Unlock the potential of great customer service. Together.
Free plan available. No credit card required.
1-min setup. 24/7 Support.
Feel unsure? Book a demo
hello world
Need help?
Email help@moosedesk.com — we usually reply in minutes.