This article provides an overview of MooseDesk AI Chatbot and explains how to set it up, customize its behavior, and manage conversations with your customers.
Overview #
MooseDesk AI Chatbot helps you support customers automatically, reduce the workload for your support team, and improve the shopping experience on your Shopify store.
With AI Chatbot, you can:
- Answer FAQs from your Knowledge Base.
- Recommend products based on customer questions.
- Automatically close inactive chats.
- Keep a consistent tone of voice that matches your brand.
How to Set Up AI Chatbot #
Setting up AI Chatbot involves four main steps:
- Enable AI Chatbot
- Add Data Sources
- Configure AI Chatbot Settings
Enable AI Chatbot #
To start using AI Chatbot, you need to enable it in the MooseDesk app. This ensures the chatbot can begin handling customer conversations based on your chosen conditions.
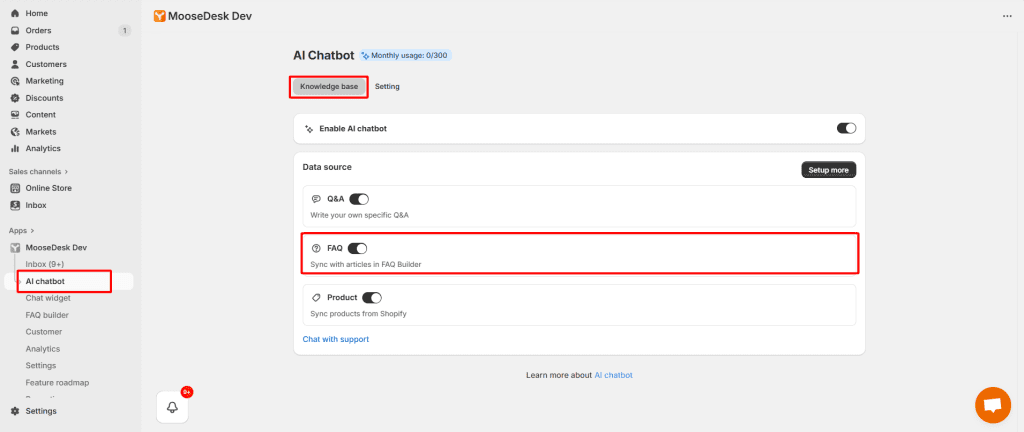
Go to AI Chatbot > Knowledge Base. Then Switch Enable AI Chatbot on.
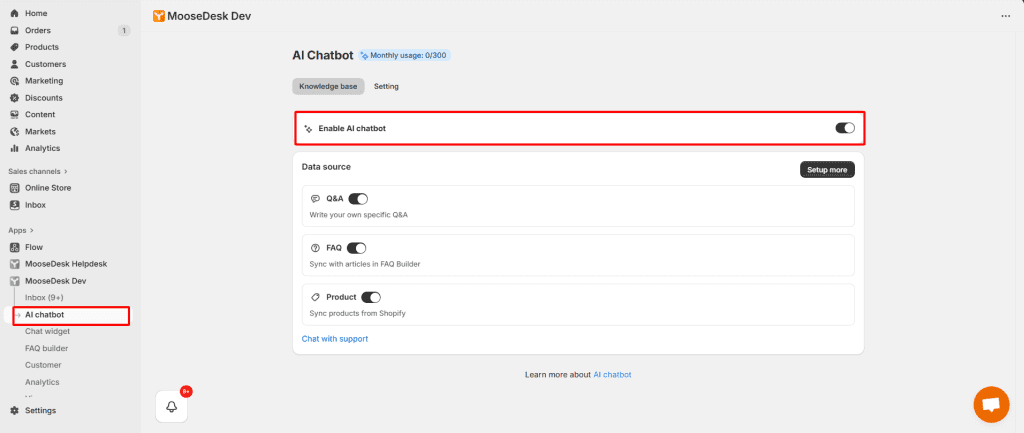
Note: In Settings, you can define conditions (e.g., chatbot only works after business hours)
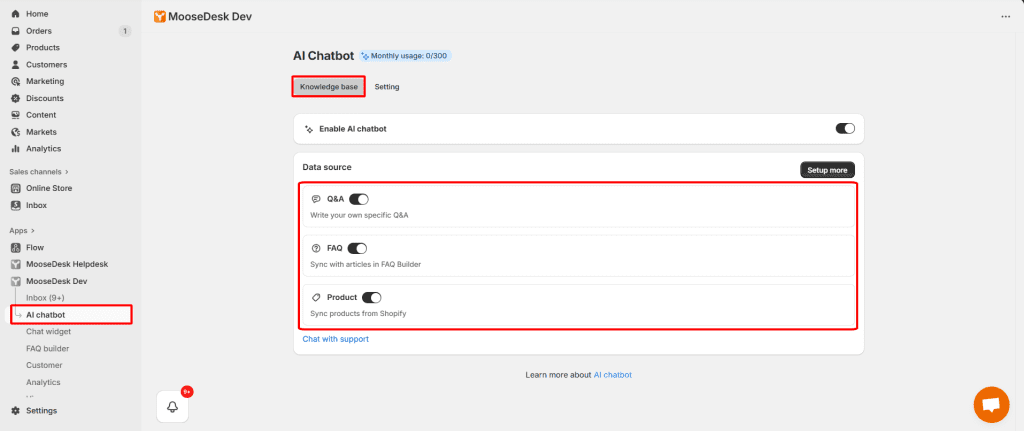
Add Data Sources #
AI Chatbot learns from your own data. You can train it by adding multiple sources, helping it deliver more accurate and personalized answers.
- Q&A: Add question–answer pairs manually or import via CSV.
- FAQ: Sync directly from your MooseDesk FAQ Builder.
- Products: Sync products from Shopify (enable/disable individually).
To start using data sources, simply Go to AI Chatbot > Knowledge base > Turn on its toggle to enable it.
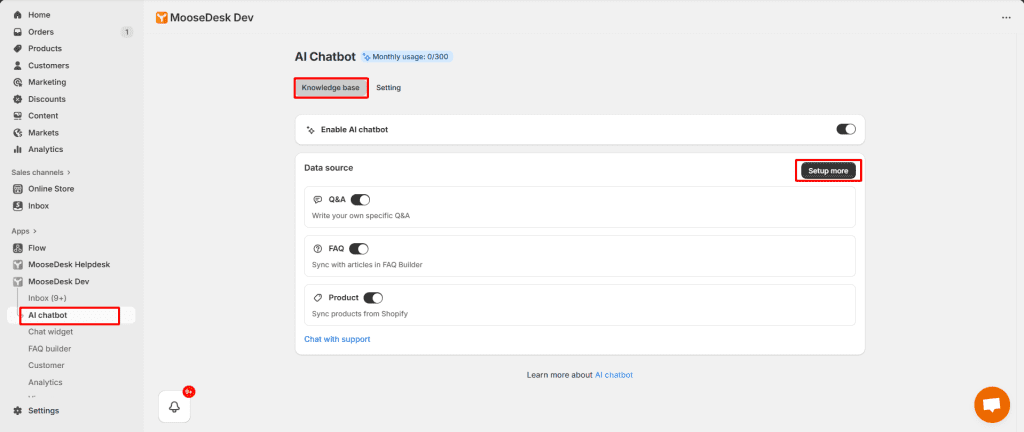
Add Q&A #
Step 1: Go to the AI chatbot setup page. Click the “Set up more” button to start configuring additional data.
Step 2: Add Q&A
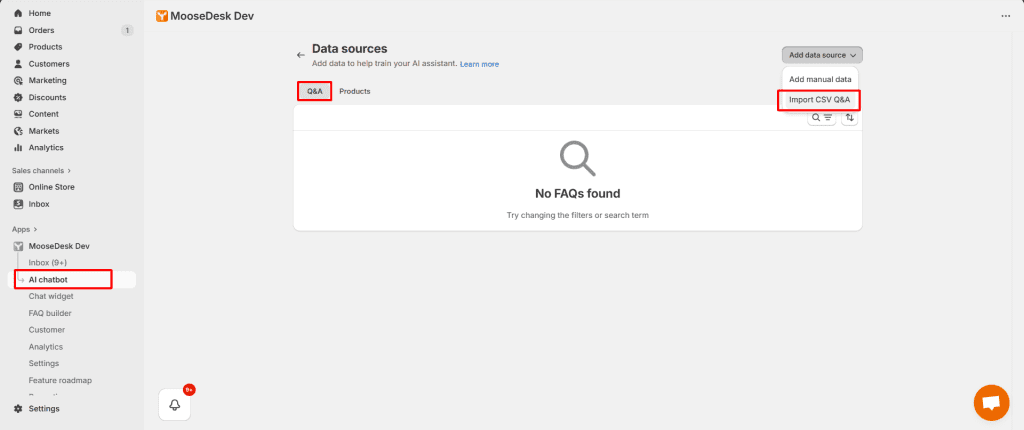
Here navigate to the Data Sources screen. To add a Q&A, click the “Add data source” button at the top-right corner.
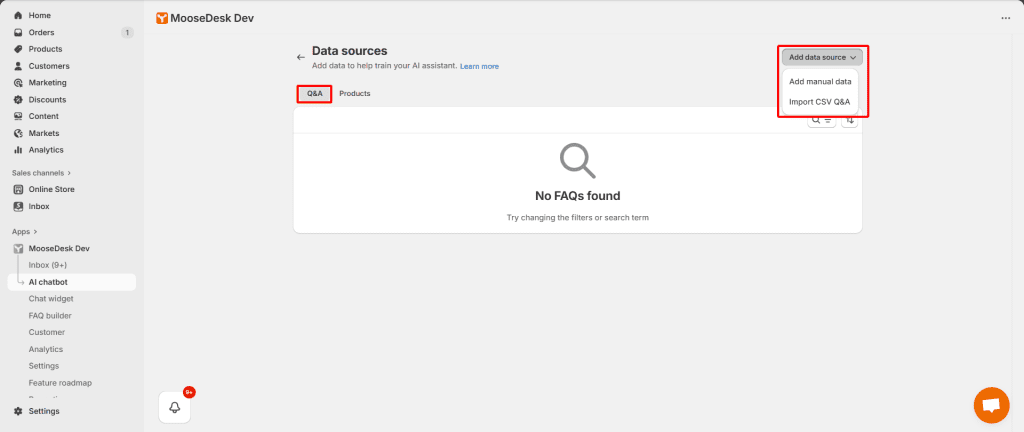
At this step, you have two options:
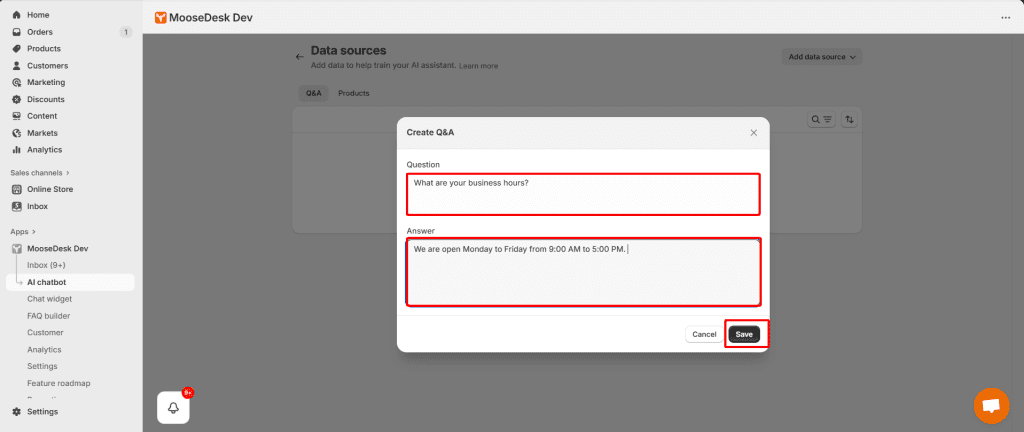
1. Add Manual Data: Enter each question and answer directly on the screen. This is usually used when the number of Q&As is small and you want to edit them directly.
For example:
Question: “What is the shipping time?”
-> Answer: “Shipping usually takes 3-5 business days.”
2. Import CSV Q&A
Use this option if you already have a CSV file with your list of Q&As.
To upload it, click the “Import CSV data” in the dropdown.
Then click “Download an example CSV”, modify it and or upload your own file. A sample CSV file may contain two columns: Question, Answer.
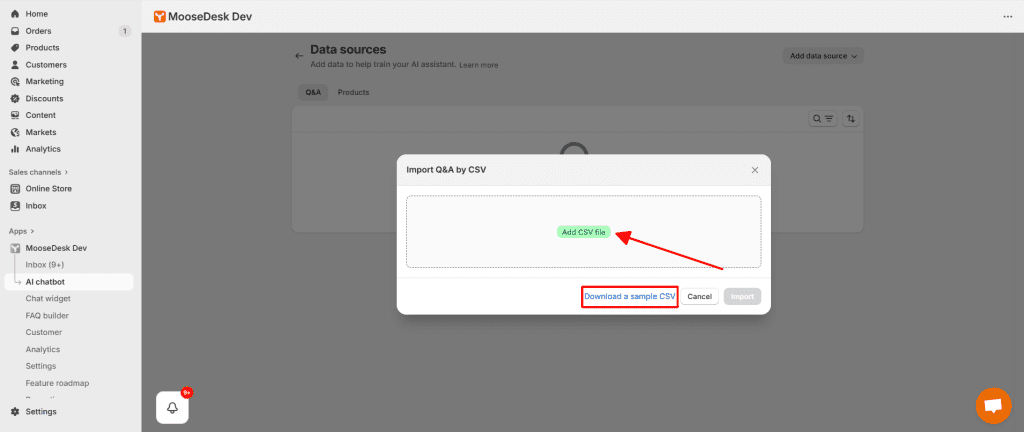
Then the system will automatically add the Q&As from your file into the database.
Sync Products #
Sync product data so the AI Chatbot can learn and provide accurate product information from your Shopify store.
To sync products:
Step 1: Go to AI Chatbot then Select the Product tab
Step 2: Click Add Data Source at the top-right corner. Then choose Sync Product:
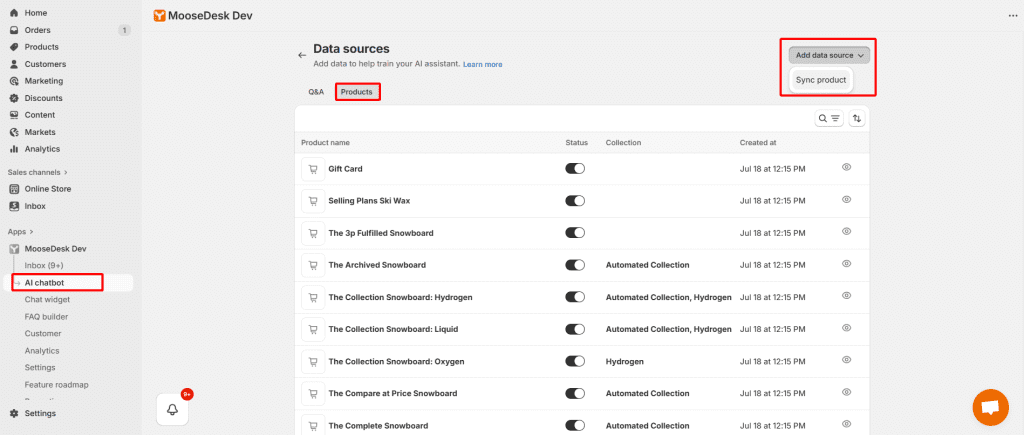
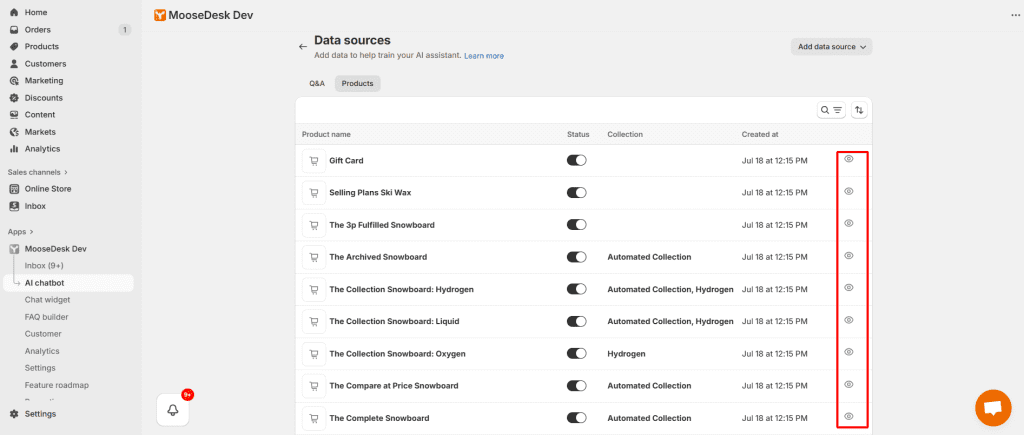
Once synced, your Shopify store products will immediately appear in the list. You can view: Product name, Enable/disable status, Collection, Last sync time.To view detailed information about a product, click the [eye icon].
Sync FAQs #
To sync FAQ into your AI Chatbot, you just need to turn on the toggle FAQ Builder in the Knowledge base tab.
Your FAQ Builder data will be automatically synced with the AI Chatbot.
👉 Learn more about how to set up FAQ Builder
Configure AI Chatbot Settings #
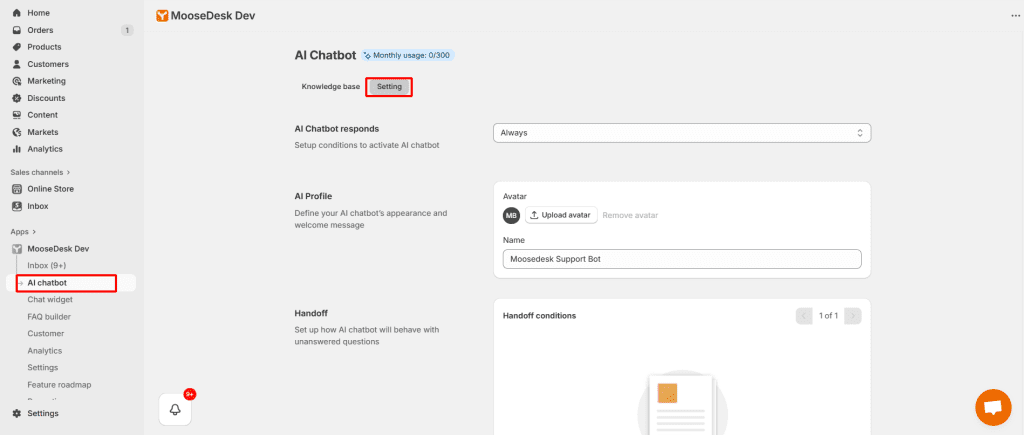
The Settings tab allows you to customize how your AI Chatbot appears and interacts with customers. Below are the key sections you can configure:
AI responses #
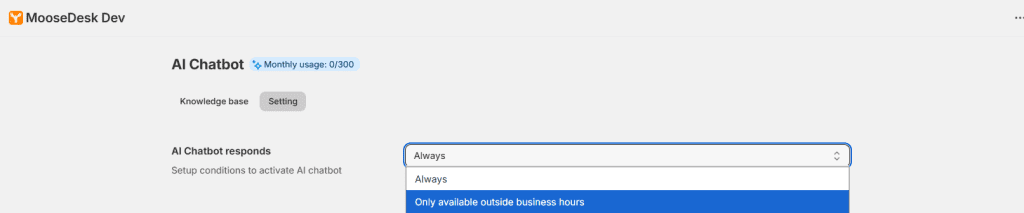
Define when the AI Chatbot should be activated.
- Always: The chatbot is always active.
- Outside business hours: Only active when your support team is offline.
AI Profile #
Customize the chatbot’s appearance and personality:
- Avatar: Upload an image to represent your chatbot.
- Name: Set the display name (e.g., MooseDesk Support Bot).

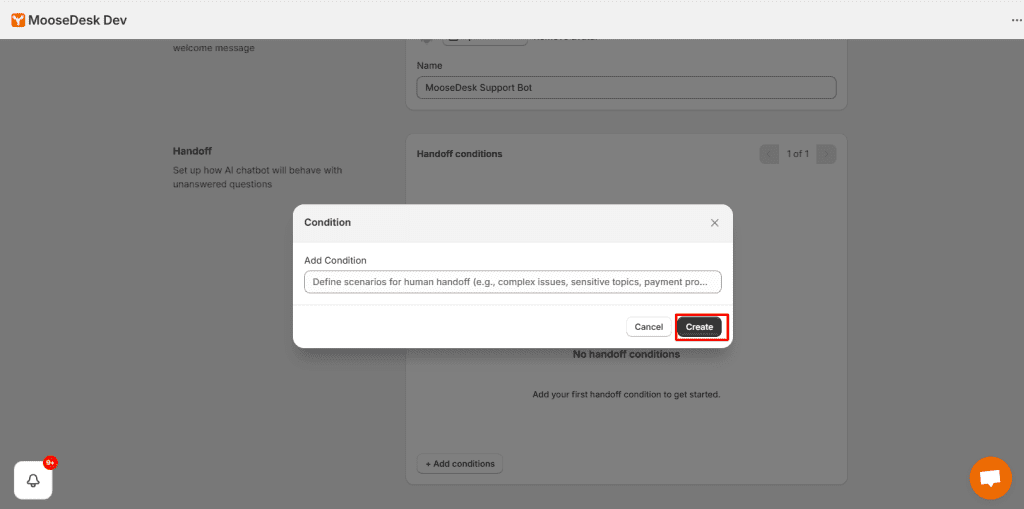
Handoff conditions #
On this screen, click Add condition to create a new rule.
This condition is used to determine when the chatbot should transfer the conversation to a human support agent (handoff).
Examples:
- If a customer types: “I want to talk to a human agent” → the chatbot will automatically transfer the conversation.
- If a customer types keywords such as refund, cancel order, complaint → transfer to a human agent.
Note: Don’t forget to click Save to save all your settings.
After setting up, you can go to your store and test the AI chatbot.
Usage Limit
The AI Chatbot is currently limited to 300 chats per month. You can track your monthly usage in the AI chatbot tab. When you are close to reaching the limit, you will receive both an in-app notification and an email alert.
Support Channels #
If you ever need assistance, our Help Center is packed with comprehensive guides and tutorials.
At MooseDesk, we’re always here to help. Our dedicated email and live chat teams are available around the clock. Drop us an email at help@moosedesk.com, or click the Live Chat icon located at the bottom left corner of the MooseDesk app, our official website, and even within this Help Center.